

The past several days here have been bitterly cold, snow on the ground and frost on every tree. It makes for beautiful mornings and great days for baking, sewing, plotting out our spring gardens........countless things! Yesterday we made our usual bread for the week and I finally had the time to take pictures of the process to share it with you. This recipe is an old Amish recipe that I got directly from an Amish bishop here in our neck of the woods. For some reason, his still tastes better than mine, but its still the best bread I've ever made. He hand grinds his wheat, which I am not able to do until we get our mill.....if you're reading this honey....by spring would be nice! Other than that, I make it the same way he does.
Gather your ingredients...

INGREDIENTS:
- 2 cups white flour
- 2/3 cup white sugar
- 1 handful of salt (my handful isn't as big as his so I use about 4 tsp and its good)
- 2 packages of yeast (or 2 Teaspoons but note the picture with the size of the teaspoon)
- 3/4 cup lard (we use pig lard but you can also use oil or shortening)
- 1 quart of warm water
- 3 cups whole wheat
You will add more flour as you go until it isn't sticky, about 3 more cups or so, you have to just figure as you go.

Now the smaller spoon pictured here is a regular table spoon, the larger spoon is the one we use for measuring the yeast. You don't need a large serving spoon, just something in between a serving spoon and a regular spoon.
I put the ingredients into the bread maker in the order of the liquids first and then the dry ingredients, yeast last on top. Make an indention in the top of the flour, big enough to contain your yeast. I don't know if this is necessary, it's just a habit I have.

If you decide to use a bread maker for half of this recipe at a time like I do, just set your bread maker on the dough cycle, otherwise mix all of the ingredients together in a large bowl, continuing to add flour until the dough isn't sticky and then knead it.
I usually leave the lid to the bread maker open during this first mixing part to add flour about a half a cup at a time. These next few pictures are a bit fuzzy due to the mixing of the machine, please excuse that. you can see in the first picture that it is still runny so I'm adding more flour.

Here you can see the dough beginning to form and pull away from the bowl, I'm still adding a half cup of flour at a time. It mixes in pretty quickly.

Here the dough has formed a firm ball and has pulled away from the edges. It is still a bit too sticky, but I go ahead and turn it into a bowl.

This dough is still too sticky, I can really tell now that it's in the bowl.

This time I add just one more half cup of flour, knead it slightly and the dough transforms into...

I let the dough rise for about an hour or so in front of the fireplace with a dish towel over it. It should almost double in size. At that time, I'll punch it down and then let it rise again for another hour or so.

Now the dough gets turned out onto the counter and divided, placed into greased bread pans and let rise one more time. Only let it rise till it is barely over the bread pans, otherwise you might get too much air in your bread. I know some people poke holes in the tops of the dough to release the air before this rising step, I don't bother with that.

Bake at 350 degrees for about half an hour or so.
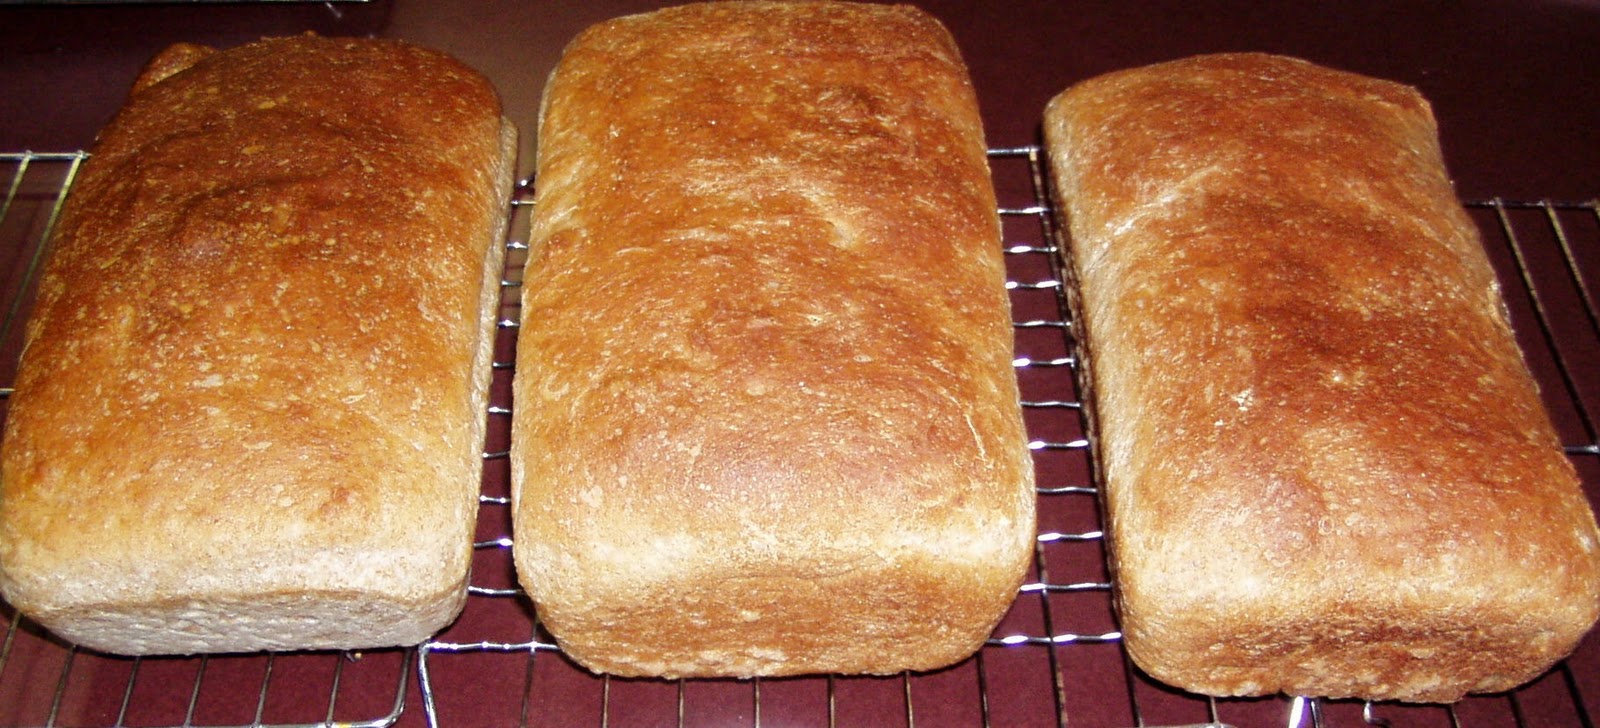
This batch isn't the prettiest batch I've ever made, but it is soft, hearty and delicious with soft crusts even without buttering the tops! It's delicious smothered in homemade butter straight from the cow!
ENJOY !!!
I've tried to explain my process in detail, but when you do something so often, you tend to forget little things others may need to know. If I have done that, please let me know and I'll gladly fill in anything I've left out :o)


My bread machine konked out on me this years after 11 faithful years of service and it was a refurbished one to boot! I miss it but still love to make bread even though with my weak hands I can't make it as much. It has been cold for us here in the ozarks hasn't it? We live east of Nevada Mo and we did enjoy the snow here but it is nearly gone now.
ReplyDeleteOurs is nearly gone too, but I am hearing whispers of more "accumulating" snow next week! You might check on Freecycle.org for a bread maker that someone isn't using anymore, or Craigslist for a used one. They are SUCH hand savers!
ReplyDeleteI bought mine from Goodwill for $5.99... best purchase ever!
Deletethanks for sharing!
ReplyDeletewe love home baked bread too.
blessings
Oh My that bread looks so good! Do you like the breadmaker?
ReplyDeleteSo I just got finnished making this dough. I ended up using a whole bag of flour and it was still sticky. I used whole wheat flour tho and not just plain whole wheat... im thinking this is my error... Where can u buy just plain whole wheat if that is what went wrong... Let me know ur advice. Thnaks
ReplyDeleteI'm not exactly sure how this would still be sticky after a whole bag of flour. What size bag? It shouldn't matter if you use all whole wheat or half whole wheat I wouldn't think. How much water did you use? The first flour I add is 3 cups of unbleached white flour, then I add another 3 cups of stone ground whole wheat flour. As the bread machine is working through the dough process, I keep adding flour by the cup until it begins to rotate off the sides of the machine. The flour I keep adding is some of each white and wheat. Including the 6 cups put in before the machine gets turned on and what I add while it's mixing, it might be about 10 cups total. You really need to go by what your dough looks like. Even after I turn my dough out into a bowl it is still a bit sticky and I might add another 1/2 cup of white flour at that point before allowing it to rise.
DeleteI hope this helps!
The recipe listed above says two QUARTS of water... it probably should be two cups. I did the same thing, and after deciding the soupy look is WAAAAY off, I looked at a couple other recipes for bread, and that's how I figured out the water measurement is off. Two quarts is eight cups... four times the correct amount, hence a result of needing to use an entire bag of flour. I luckily came to this realization before wasting TOO much of my ingredients. Two solutions to my dilemma: quadruple the other ingredients also and make eight loaves instead of two, or start from scratch... scratching my head first, trying to decide which route to go!!
ReplyDeleteThank you SO much for making me take a look at how I had this recipe written out! It is only 1 quart of water! You are right, is was WAY off and I am SO sorry for not having that down correctly. In the end, even with 1 quart of water, it seems like a lot of flour, and it is. I just keep adding it until it is the correct consistency, one cup at a time. Please forgive me for my mistake!!! I hope everything turned out ok and that I didn't cause you to waste anything.
Delete