Photobucket
 photo blogcollage_zps1d7c5074.jpg
Showing posts with label baking. Show all posts

February 28, 2015

How To Render Lard


Over the years, we have learned that with every season comes the harvesting of home grown farm products.  Living near several large groups of Amish, one begins to really appreciate the 'old' way of living.  One thing we have learned is that it isn't really the 'old' way of living as much as it is a smart way of living.  Now mind you, I'm not ready to get rid of electricity or running water, but I enjoy knowing how to live without them if necessary.

March 01, 2013

Pumpkin Bread


For those of you who don't live around these parts, we have had an ice storm and snow the past few weeks.  The ice is pretty, but usually unwelcome because of the fear of a power outage.  The snow around here is pretty too, while it lasts, but usually it will melt off the next day.  That is not the case this time and it feels like we have been living in a snow globe for the past five days.  It is pretty, and we so seldom get any snow that I sure don't want to complain, but I haven't had the heart to romp around in it either.  

Needless to say, if you follow our Facebook Page, you can tell that I have had a little more time on my hands than usual!

January 30, 2013

Easy Apple Cobbler


One of our greatest blessings, is our beloved daughter.  She has such a teachable heart and she is one who lives life whole-heartedly.  Her heart is committed to learning all that she can, to be first, a Godly woman, second a Godly wife and third, a Godly mother.  As any of you know, that is quite an undertaking and a daily struggle for all of us.  She is a joy and truly always has been one.    

June 12, 2012

Preserving Blueberries


Glorious Blueberries!!

Not only are Blueberries totally delicious, they are extremely healthy too.  Blueberries are known to have the highest antioxidant of all fresh fruit.  They are full of Anthocyanin, Vitamin C, B Complex, Vitamin E, Vitamin A, Copper, Selenium, Zinc, and Iron.  In case you need more convincing, see the Top 10 Health Benefits of Blueberries on the Women's Fitness site.

May 24, 2012

Strawberry Preserves


REST

That is one of the best little words my weary mind and body can eagerly comprehend, especially at this time of year.  It seems after months of planning, preparing and planting the garden, I look ahead into the hot and sticky summer months and realize I've only just begun.

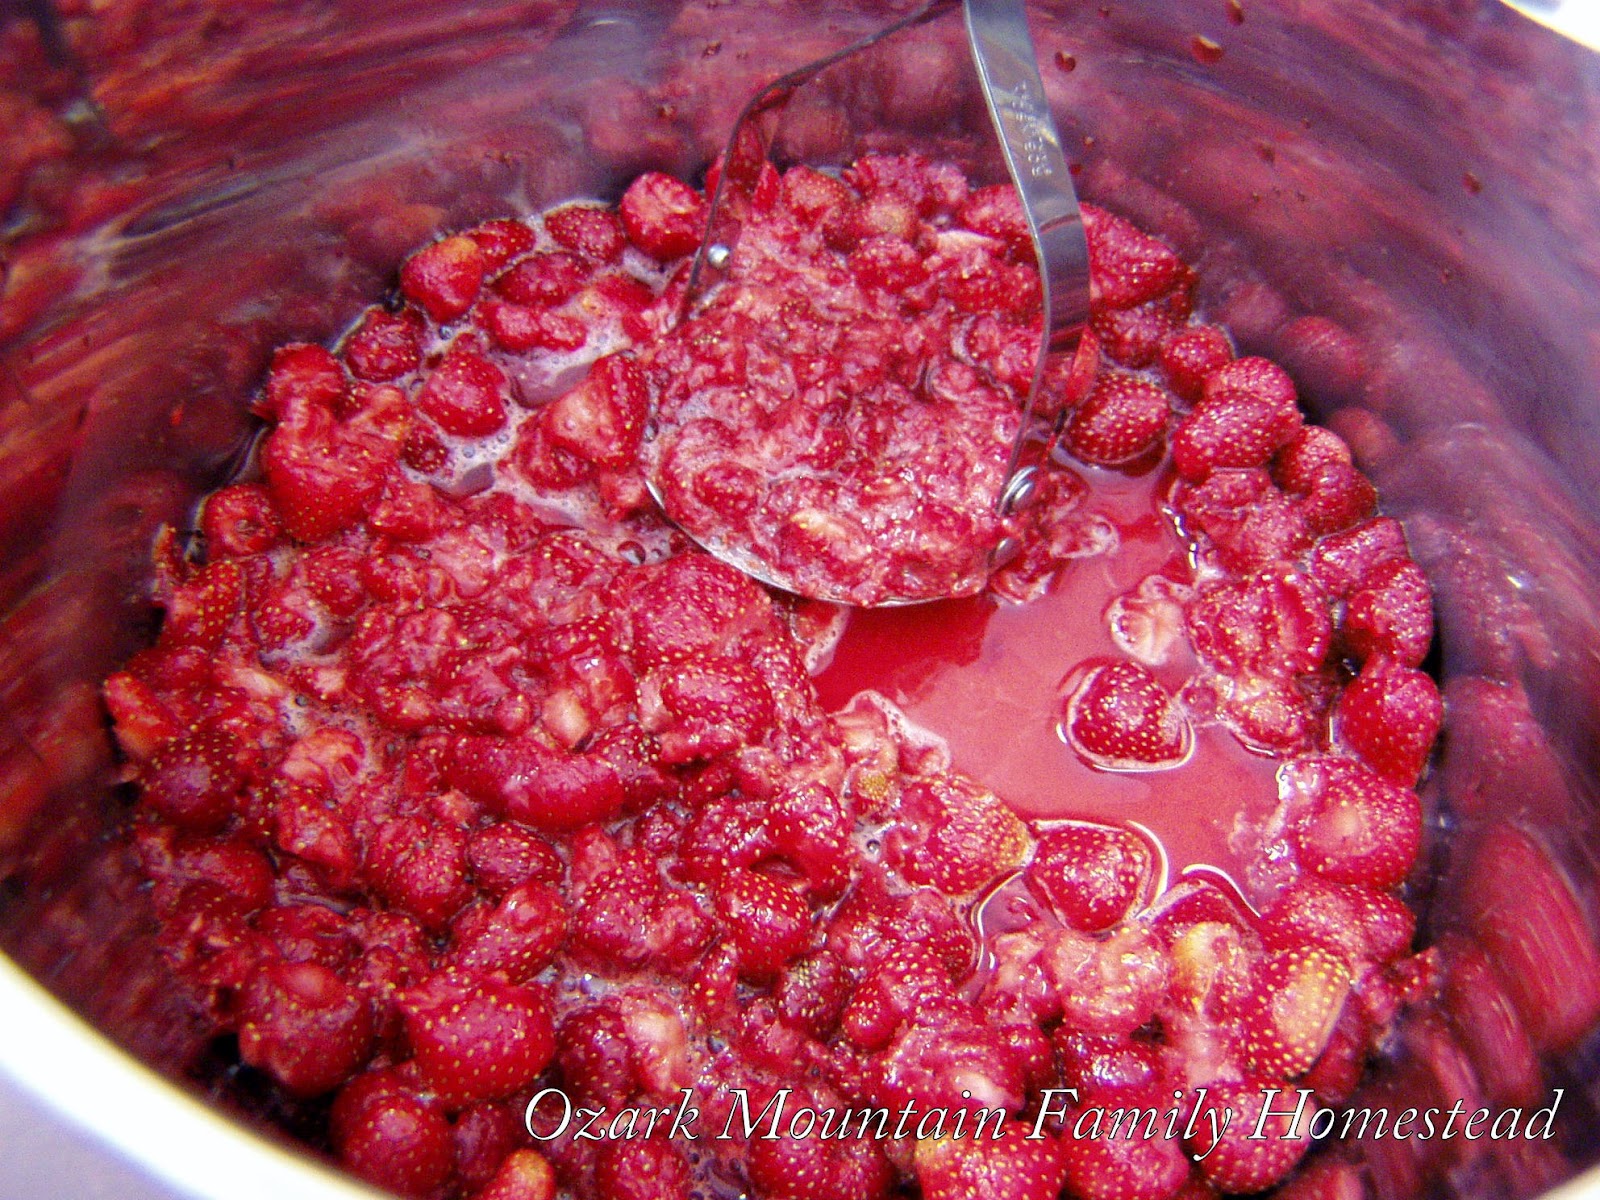
This week has been full of not only an abundance of garden work, but lots of work in the kitchen too.  We are just about done washing, hulling and preserving over twenty quarts of beautiful, luscious, juicy red strawberries.  

Is your mouth watering yet?

We have gone a bit strawberry crazy!

Trying to figure out what to do with all the strawberries even after making strawberry preserves and flash freezing several gallons, we turned to the ever trusty Pinterest for ideas.

First we made the strawberry preserves.


December 29, 2011

A Blessed and Peaceful Rest


This was the icing on the cake this Christmas season!  We were joyfully blessed with having both grandsons just before Christmas so I rushed around to get baking ingredients to make some yummy Christmas goodie memories with them.  They are truly one of my greatest joys.  Children are a blessing from God....and there is no earthly word to describe how precious grandchildren are.  We had a marvelous time together and I will cherish the memories.  Below are some of what we made for everybody.

January 15, 2011

Homemade Bread

The past several days here have been bitterly cold, snow on the ground and frost on every tree.  It makes for beautiful mornings and great days for baking, sewing, plotting out our spring gardens........countless things!  Yesterday we made our usual bread for the week and I finally had the time to take pictures of the process to share it with you.  This recipe is an old Amish recipe that I got directly from an Amish bishop here in our neck of the woods.  For some reason, his still tastes better than mine, but its still the best bread I've ever made.  He hand grinds his wheat, which I am not able to do until we get our mill.....if you're reading this honey....by spring would be nice!  Other than that, I make it the same way he does.
Gather your ingredients...

As you can see, I have been using my bread maker for mixing the dough.  I used to mix it by hand, but my hands don't take kindly to mixing bread dough with a skinny handled wooden spoon.  (Another thing for the wish list....a BIG handled wooden spoon.)  Since this entire recipe will not fit into the bread maker, I do it in halves for the mixing part.

INGREDIENTS:

  • 2 cups white flour
  • 2/3 cup white sugar
  • 1 handful of salt (my handful isn't as big as his so I use about 4 tsp and its good)
  • 2 packages of yeast (or 2 Teaspoons but note the picture with the size of the teaspoon)
  • 3/4 cup lard (we use pig lard but you can also use oil or shortening)
  • 1 quart of warm water
  • 3 cups whole wheat
You will add more flour as you go until it isn't sticky, about 3 more cups or so, you have to just figure as you go.


Now the smaller spoon pictured here is a regular table spoon, the larger spoon is the one we use for measuring the yeast.  You don't need a large serving spoon, just something in between a serving spoon and a regular spoon.  

I put the ingredients into the bread maker in the order of the liquids first and then the dry ingredients, yeast last on top.  Make an indention in the top of the flour, big enough to contain your yeast.  I don't know if this is necessary, it's just a habit I have.


If you decide to use a bread maker for half of this recipe at a time like I do, just set your bread maker on the dough cycle, otherwise mix all of the ingredients together in a large bowl, continuing to add flour until the dough isn't sticky and then knead it.  

I usually leave the lid to the bread maker open during this first mixing part to add flour about a half a cup at a time.  These next few pictures are a bit fuzzy due to the mixing of the machine, please excuse that.  you can see in the first picture that it is still runny so I'm adding more flour.


Here you can see the dough beginning to form and pull away from the bowl, I'm still adding a half cup of flour at a time.  It mixes in pretty quickly.


Here the dough has formed a firm ball and has pulled away from the edges.  It is still a bit too sticky, but I go ahead and turn it into a bowl.


This dough is still too sticky, I can really tell now that it's in the bowl.


This time I add just one more half cup of flour, knead it slightly and the dough transforms into...


 I let the dough rise for about an hour or so in front of the fireplace with a dish towel over it.  It should almost double in size.  At that time, I'll punch it down and then let it rise again for another hour or so.


Now the dough gets turned out onto the counter and divided, placed into greased bread pans and let rise one more time.  Only let it rise till it is barely over the bread pans, otherwise you might get too much air in your bread.  I know some people poke holes in the tops of the dough to release the air before this rising step, I don't bother with that.


 Bake at 350 degrees for about half an hour or so.


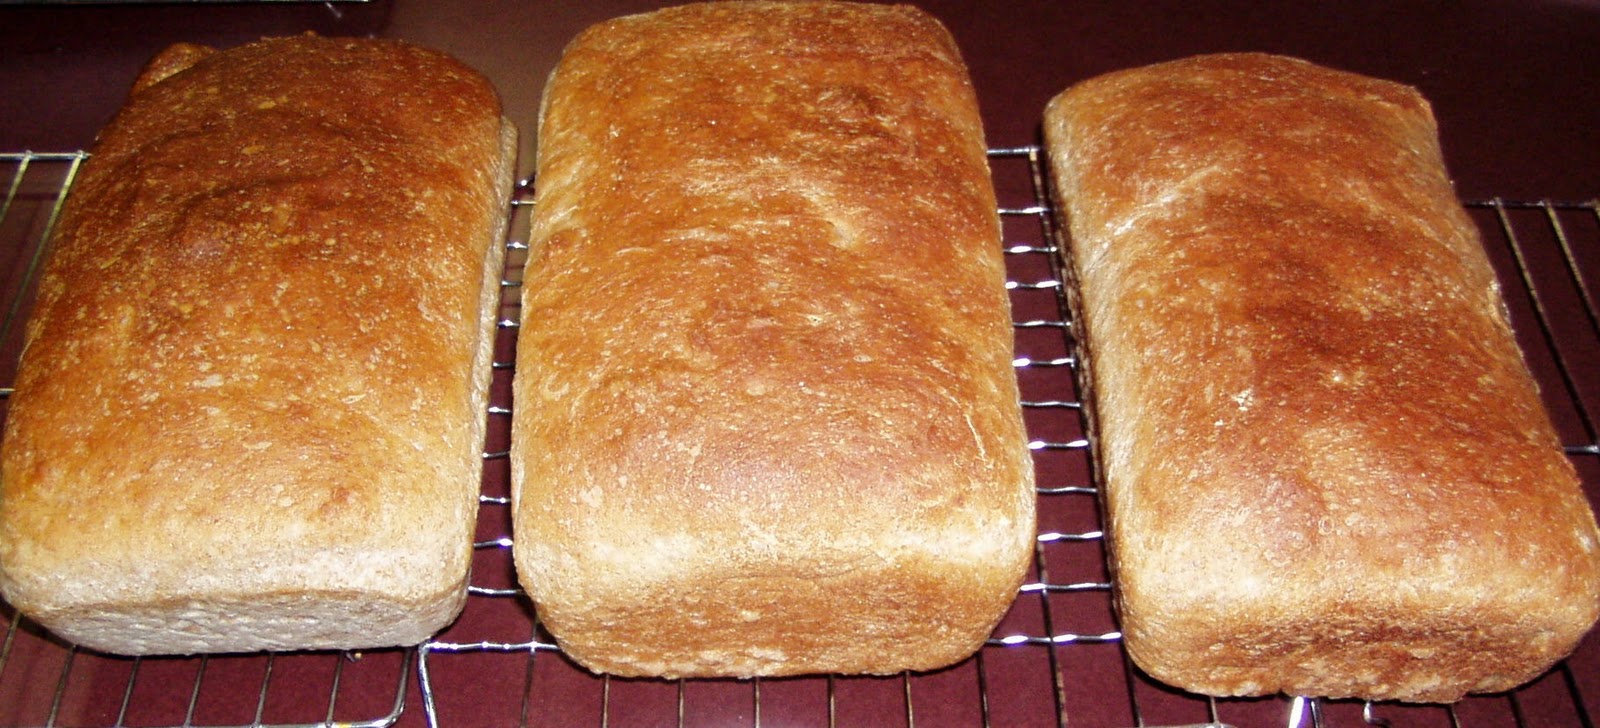
This batch isn't the prettiest batch I've ever made, but it is soft, hearty and delicious with soft crusts even without buttering the tops!  It's delicious smothered in homemade butter straight from the cow!
ENJOY !!!

I've tried to explain my process in detail, but when you do something so often, you tend to forget little things others may need to know.  If I have done that, please let me know and I'll gladly fill in anything I've left out :o)

December 22, 2010

Christmas Goodie Baking

I think I am finally done with any and all of the Christmas goodie baking I am going to do!  I have been baking for a week, and if what there is, isn't enough.....I'll just simply have to start earlier next year.  We send gift packages to family living in other states, so baking has to start in time to get them sent out in time for Christmas.  Plus....this year, I had a fun, FUN time with my daughter in law and grandson last Saturday, baking.  Their family moved down here earlier this year, and this is the first time ever we have been able to create such a memory at Christmas!  We baked all day, the children played, cut out cookies, played, frosted and decorated cookies, and made a huge, wonderful mess that I would clean up many times over in order to enjoy such a wonderful day.

Up to this evening the baking list includes, Amish Pumpkin Fudge (the best I've ever tasted), several different barks.....Pecan, Cherry Vanilla, Dark Chocolate Mint and I still may yet make a Butterscotch bark (thank you Pam for the wonderful recipes, they are delicious!), Lemon Poppy Seed bread, Chocolate covered Ritz filled with peanut butter, Pumpkin bread, Strawberry filled Thumbprint cookies, 7 Layer Bars, Christmas cut out sugar cookies, Chocolate covered pretzels....that's all I can remember....I wanted to also make Snowball cookies and Forgotten cookies, but I just don't know if I have any more baking in me!  If anyone is interested in my dear friend Pam's recipes.....go to her incredible My Favorite Recipes Blog where you will really enjoy her recipes, tips and overall down home goodness!

Tomorrow the real cooking begins with three family events to cook for.  Next week.........left overs!

How about you?  What have you made and/or still plan on baking?  Be sure and share links to your recipes please!

Sweetened Condensed Milk

Since I don't normally keep sweetened condensed milk in my pantry, the few small cans I bought for Christmas baking went too quickly.  Thankfully, I was able to find my grandmothers homemade recipe for it and wanted to share it with you in case you run out too soon while baking!

Sweetened Condensed Milk

1 cup dry nonfat milk

2/3 cup sugar

1/3 cup boiling water

3 Tablespoons butter


In blender, place dry ingredients first, then add butter and finally the boiling water.  Blend until smooth.  This will keep well in refrigerator for 5 days.

December 05, 2010

Bread Making with Amish Friends


Recently my daughter and I were invited to an Amish friends home in order to get a copy of their wonderful bread recipe.  Boy were we in for a few lessons!  Nothing more humbling as an "Englischer" than to learn how to do things from someone who is completely self sufficient!  When I was asked what I cook with, I replied "an electric stove".  Response?  "Tsk tsk tsk".  :o) 

When we first arrived, we sat down while she wrote out the recipe. The plainness of the home was overwhelmingly peaceful and extremely clean with fresh white paint.  She asked me how I got my yeast, in packets or in a bag.  Since I usually get it in a jar and she had never seen

October 07, 2010

Autumn Pumpkin Pie made with Heirloom Banana Squash


This year has been full of exciting discoveries in the garden and in the kitchen.  Has anyone ever heard of Heirloom Jumbo Pink Banana Squash?  I never had before this year and what a delightful find!  They are extremely easy to process for fresh use in any pumpkin recipe or to store in your freezer and the result is a much sweeter, smoother and lighter squash than pumpkin.  One squash goes a long way too.  This one I worked up today measured 24" long, I'm not sure how much it weighed but they can weigh from 10 to 40 pounds.


Simply begin by cutting the squash into lengths and then slice each of the lengths in half.


Scoop out the seeds and membranes.  In order to save the seeds to grow your own Jumbo Pink Banana Squash, wash the seeds with water in a strainer and spread out on a sheet of wax paper to dry.  Let the seeds dry in a cool, dry location for about a week before storing.


Place halves, cut side down, on foil lined baking sheet.  Bake in the oven at 350 degrees for about 40 minutes or until you are able to easily pierce the outside with a fork.  Take them out of the oven and let them cool.  Thursdays are baking days for me, and to save some time, sometimes I'll bake these up the night before and after they cool, put them in the fridge until the next morning.  


After the squash has cooled, simply scoop the insides into the food processor and blend until creamy.  I blend three to four halves at a time.  At this point, you can either spoon the squash into freezer bags or use immediately in any recipe that calls for pumpkin or squash.  Today I spooned it into a big tupperware container, used 4 cups of it for pies and put the rest of it into the fridge.  I couldn't even tell I had used any from the container, that's how much of it one squash will make.  No more buying canned pumpkin at the store, using it, eating it and then hearing on the news that there has been a recall!  Here is the Pumpkin Pie recipe I use and let me tell you that it is scrumptious!  The secret is the maple syrup!

Pumpkin Pie made with Banana Squash

  • 2 eggs
  • 2 cups of squash (or one 15 oz. can of pumpkin)
  • 1 cup evaporated milk
  • 3/4 cup sugar
  • 1/2 cup maple syrup
  • 1 teaspoon pumpkin pie spice
  • 1/4 teaspoon salt 
In a large bowl, combine all ingredients; beat until smooth and pour into the crust.

Bake at 425 degrees for 15 minutes.  Reduce heat to 350 degrees and bake for 45 - 50 minutes longer or until crust is golden brown and top of the pie is set.  Test for doneness by inserting a knife into the pie, if the knife comes out clean, it's done.  Cool on a wire rack for 1 hour.


Now I'm sure someone else can make a prettier pie than this one, my disposable pie pan wasn't big enough for this recipe as you can see, I filled it too full.  Just know that the recipe is more than plenty for a good deep pie.  Another nice touch to this pie, which I didn't do, is to add Maple Whipped Cream on top of it.

Maple Whipped Cream  (Very Good!)
1 cup heavy whipping cream
2 Tablespoons confectioners sugar
1 Tablespoon maple syrup
1/4 teaspoon pumpkin pie spice

Beat all ingredients until stiff peaks form.  Spoon onto pie and enjoy!

Everyone be sure and let me know how you like the recipe!!

September 02, 2010

Baking Day

It is so nice to come to the end of a long day of baking, however, I tried several new recipes today and they are all scrumptious!  It's too bad that we were only able to taste the small crumbs that aren't going to the Amish auction tomorrow.  We tried a wonderful new recipe for Cinnamon Swirl Bread that was extremely easy.  Toss all the

LinkWithin

Related Posts Plugin for WordPress, Blogger...

Share